Configuring Cues
Go to the Cues section in the left sidebar to configure cue types and add cues to your script.
Cue Types
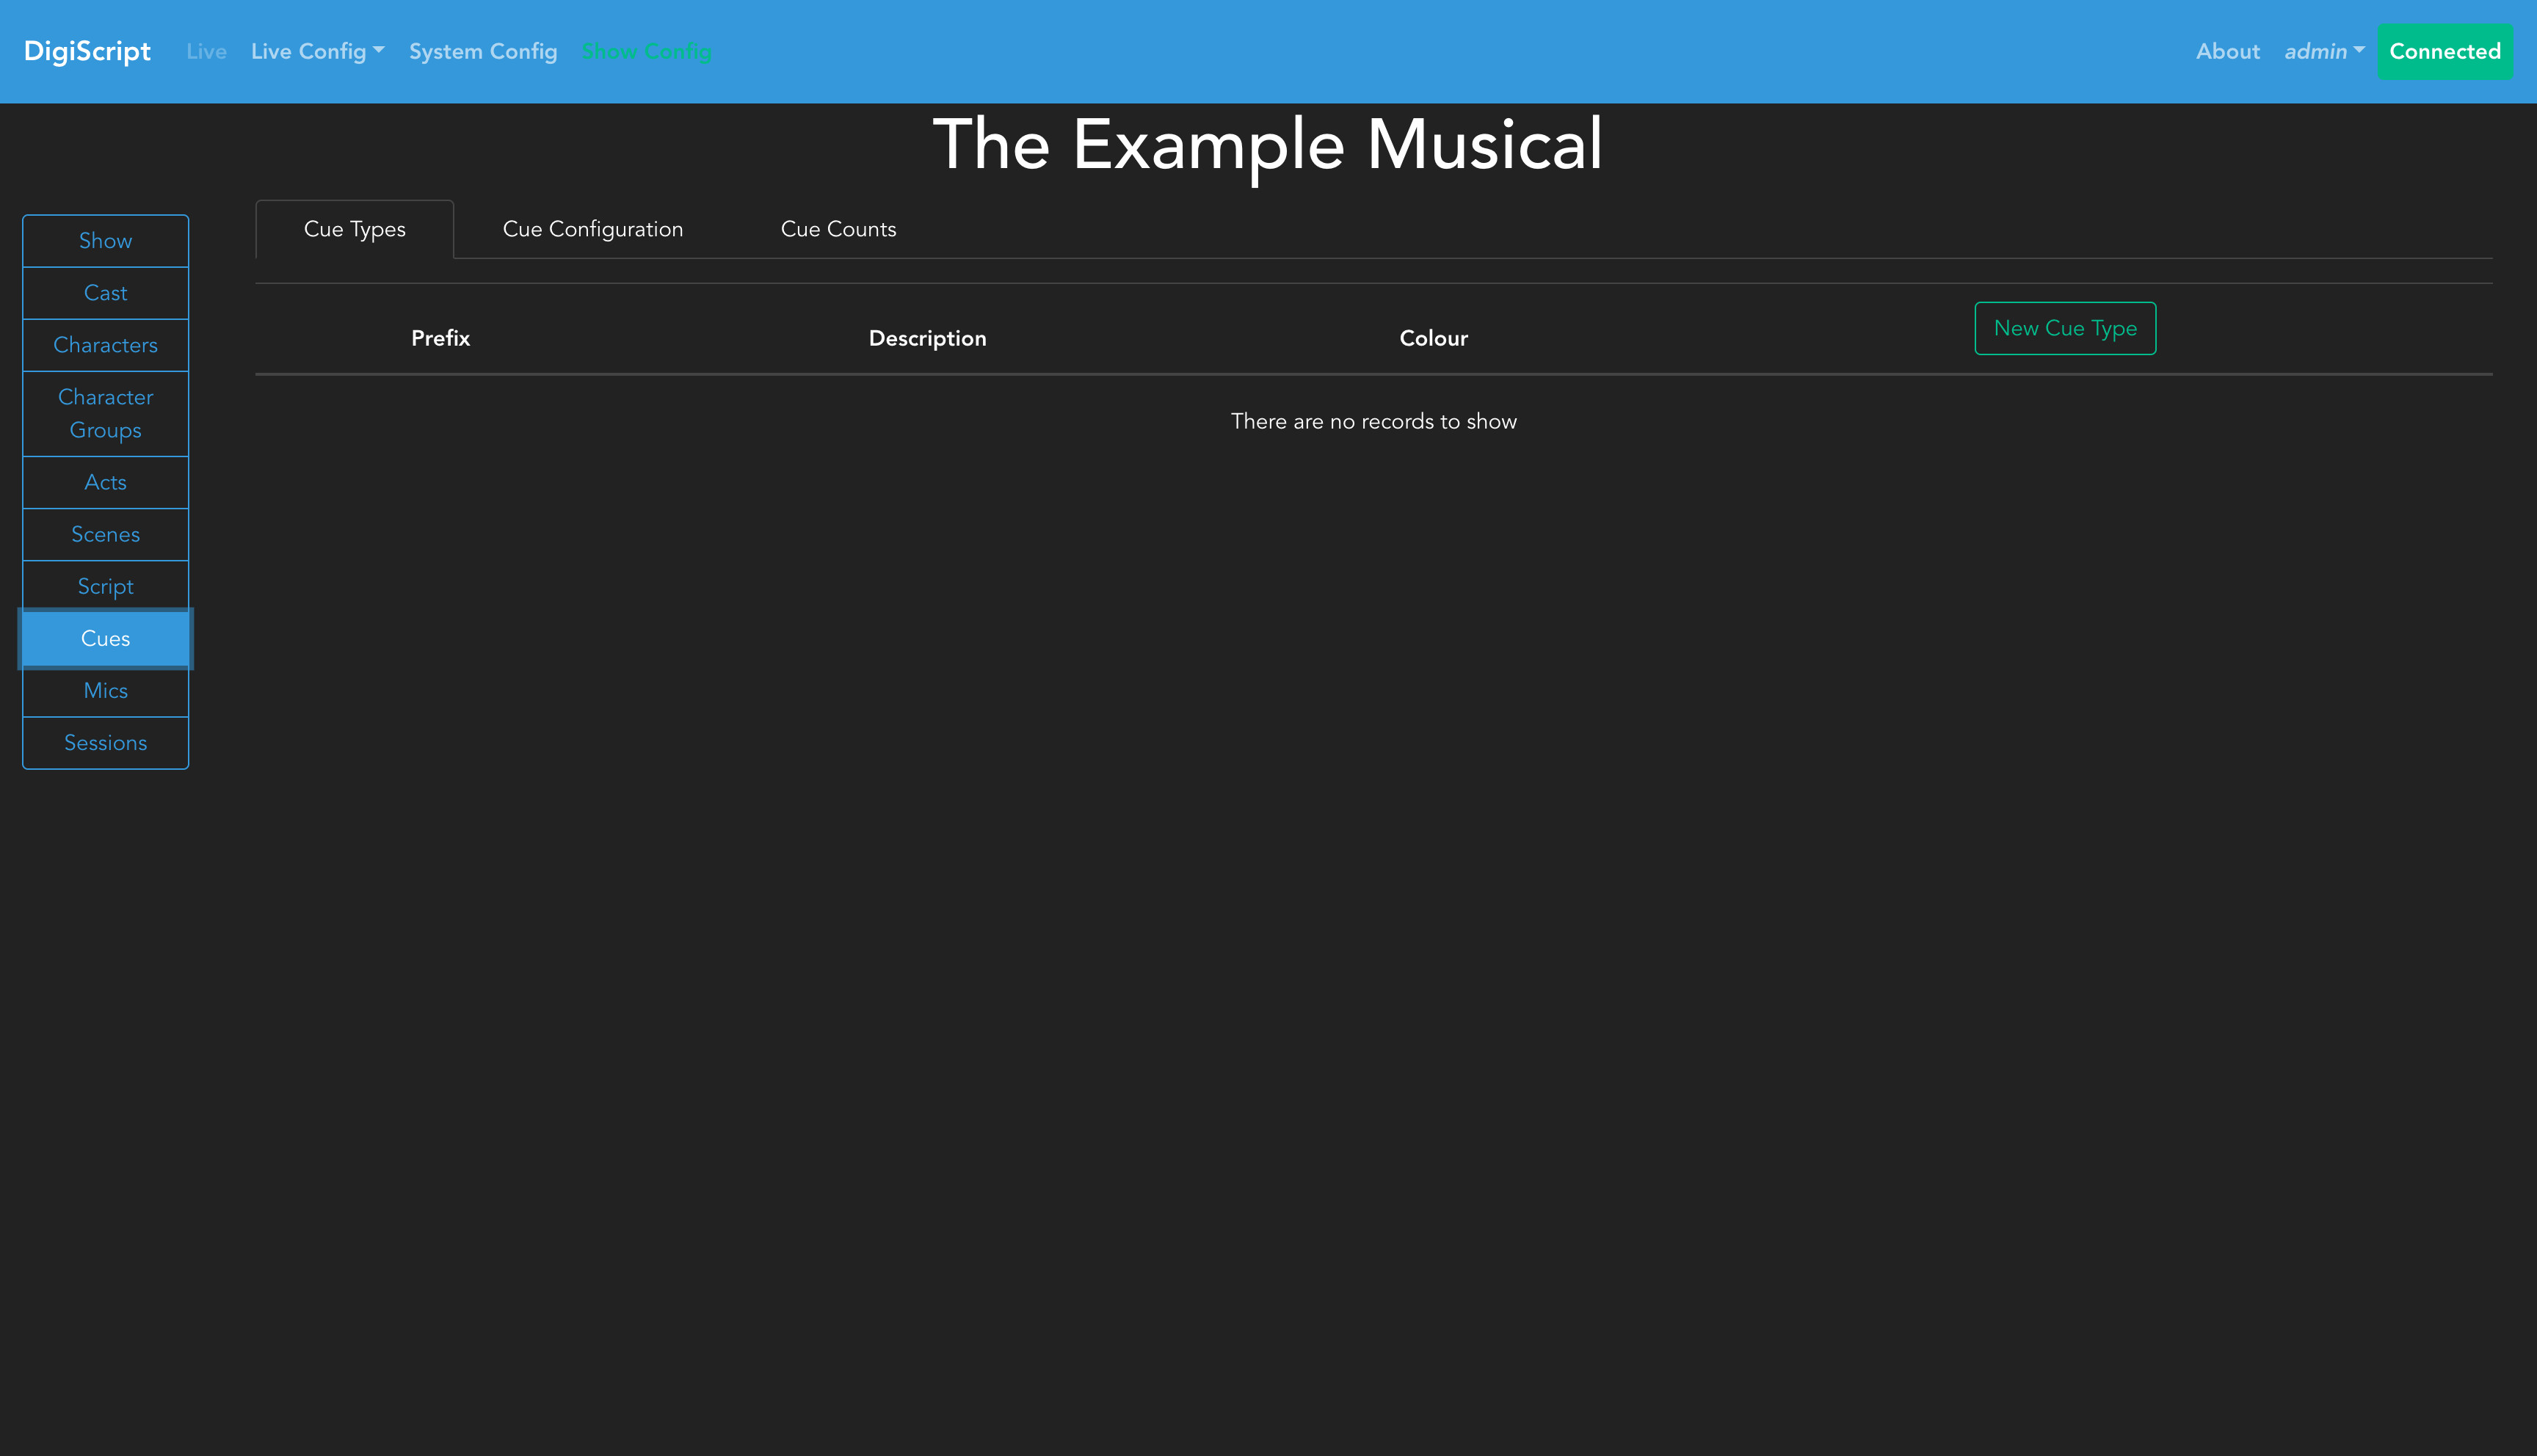
The Cue Types tab allows you to Add, Edit, and Delete different cue types. Common examples include Lighting (LX), Sound (SND), or other technical cues specific to your production. When you first access this page, you’ll see an empty cue types list:
Creating Cue Types
Click New Cue Type to create a new cue type. For each cue type, you’ll need to specify:
- Prefix: A short identifier (e.g., “LX” for lighting, “SND” for sound)
- Description: A full description of the cue type
- Color: A color code to visually distinguish this cue type in the interface
After adding cue types, they will appear in the cue types overview:
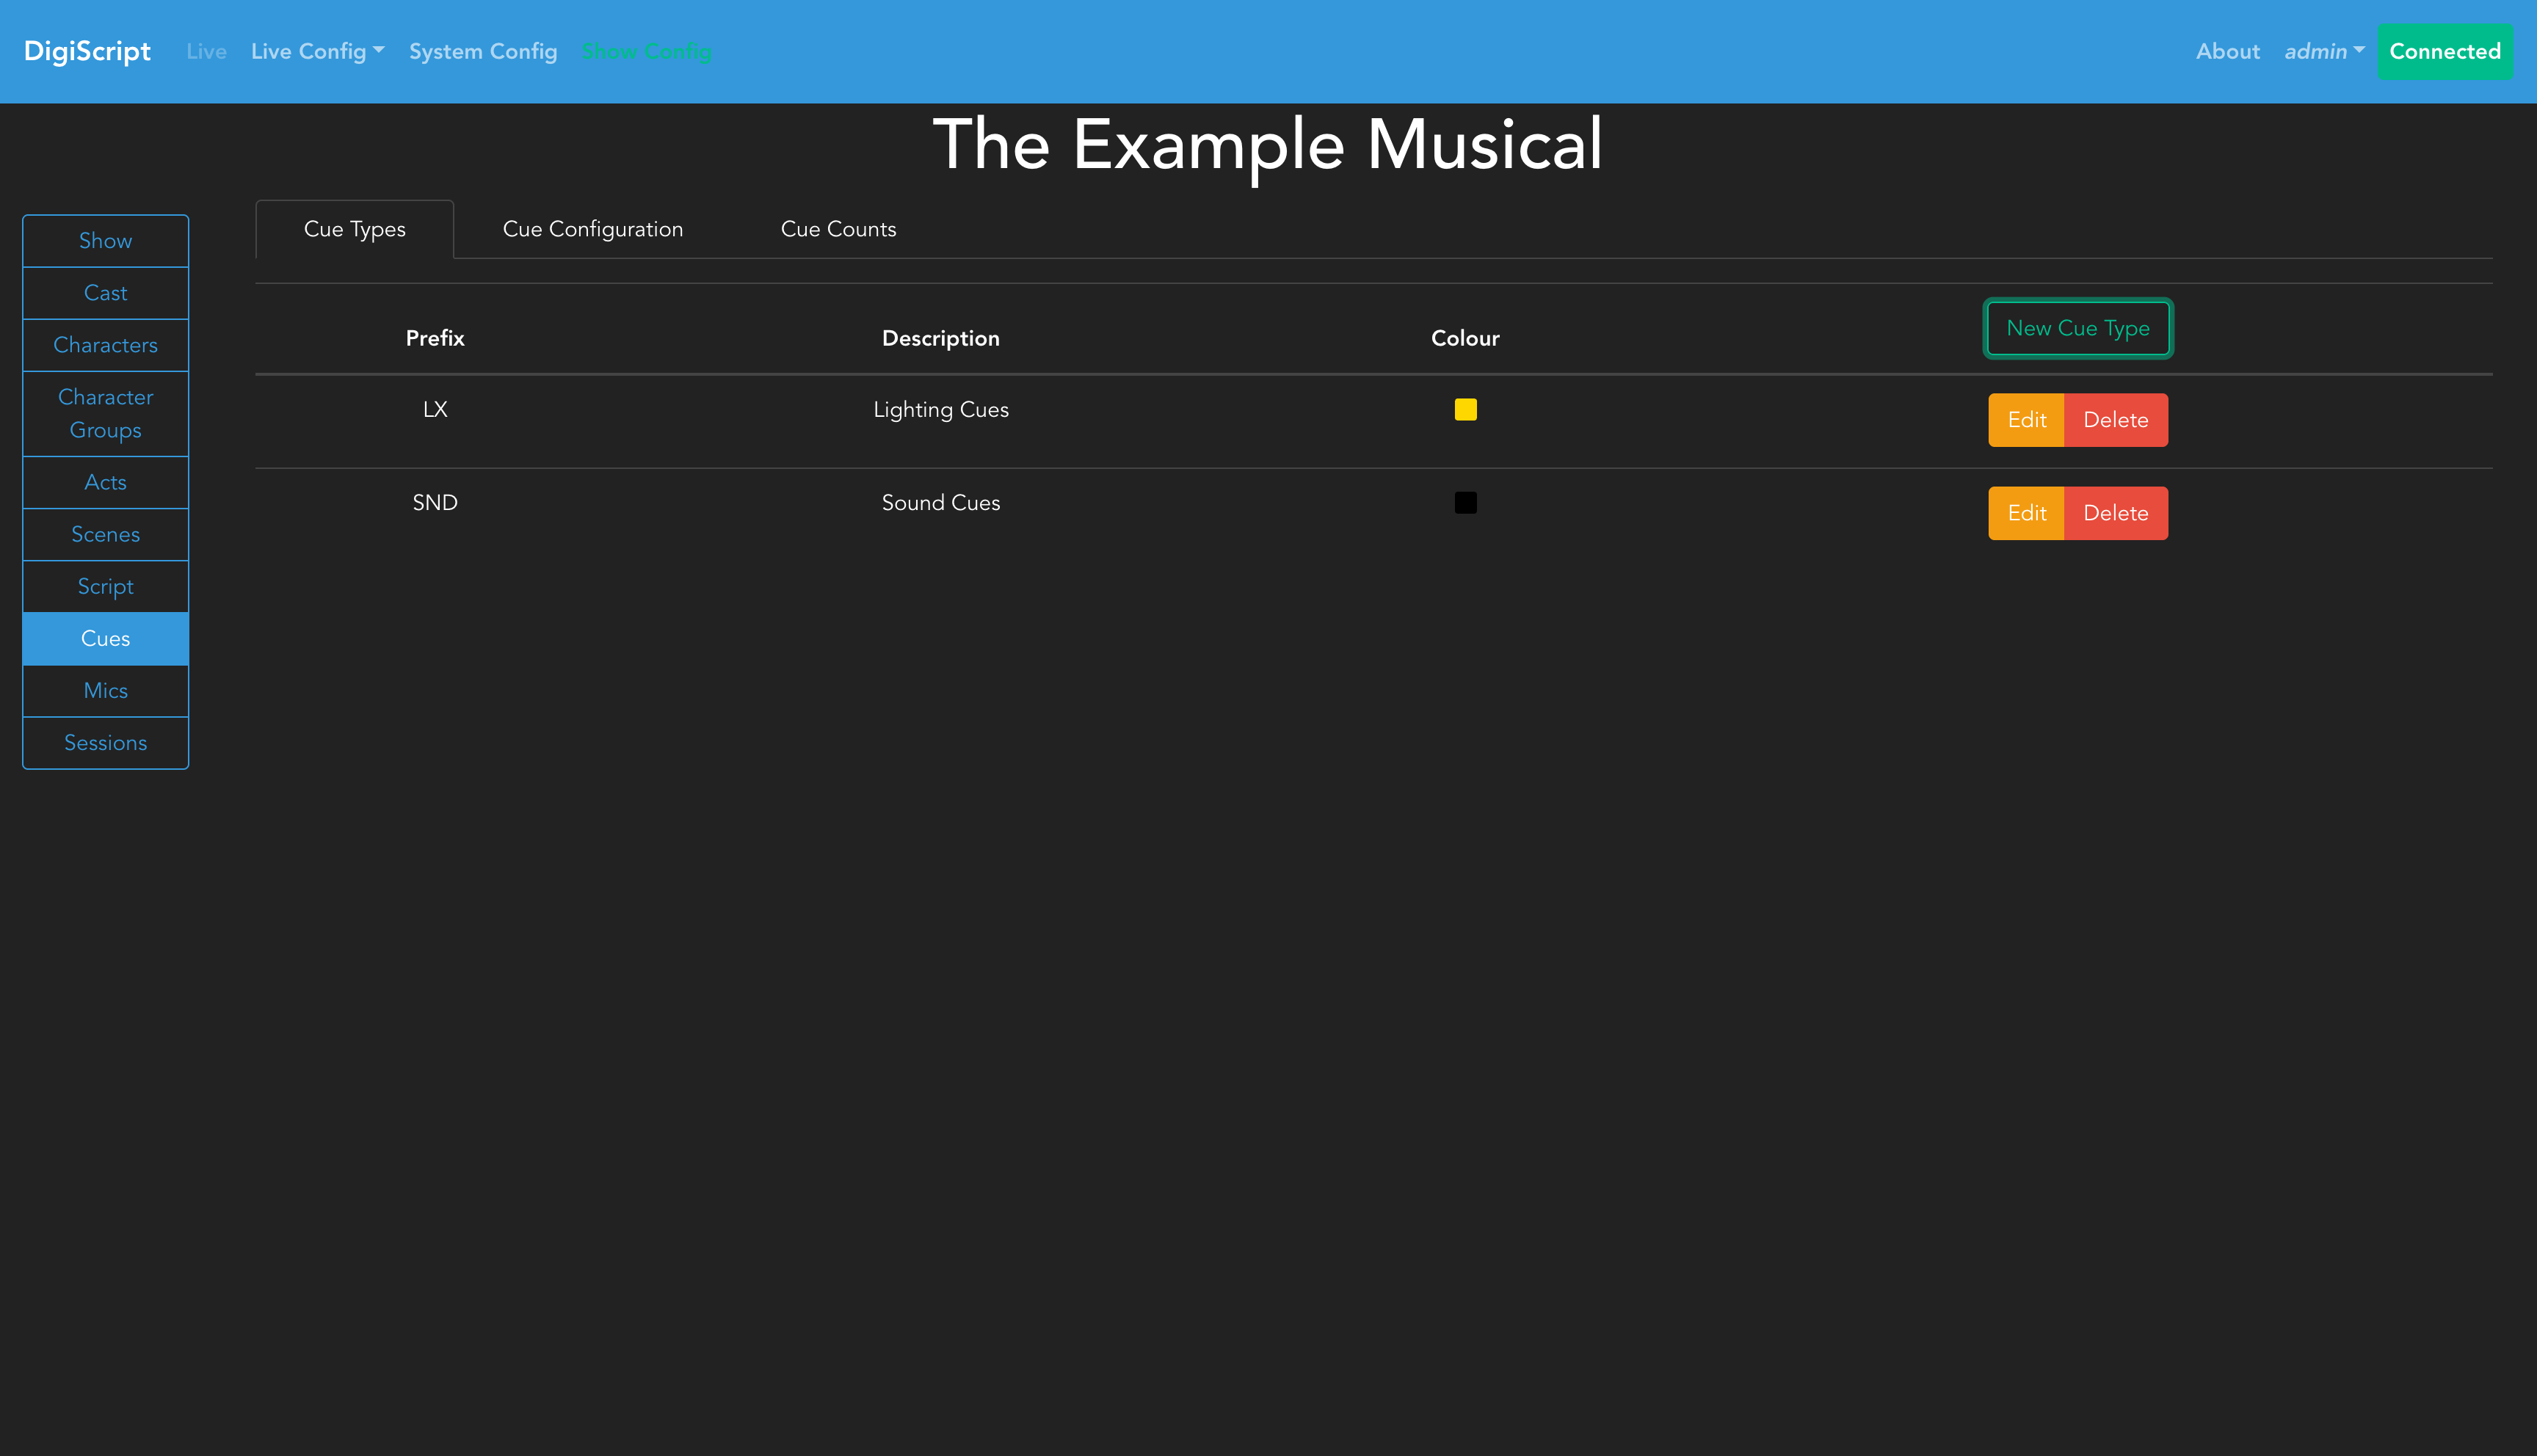
The color you choose will be used throughout DigiScript to make different cue types instantly recognizable during configuration and live shows.
Importing Cue Types from Another Show
If you have already configured cue types for another show, you can import them into the current show using the Import Cue Type button. This opens a panel listing all cue types from your other shows, grouped by show name. Click Import next to any cue type to add an independent copy to the current show — changes made after import do not affect the original show.
Adding Cues to the Script
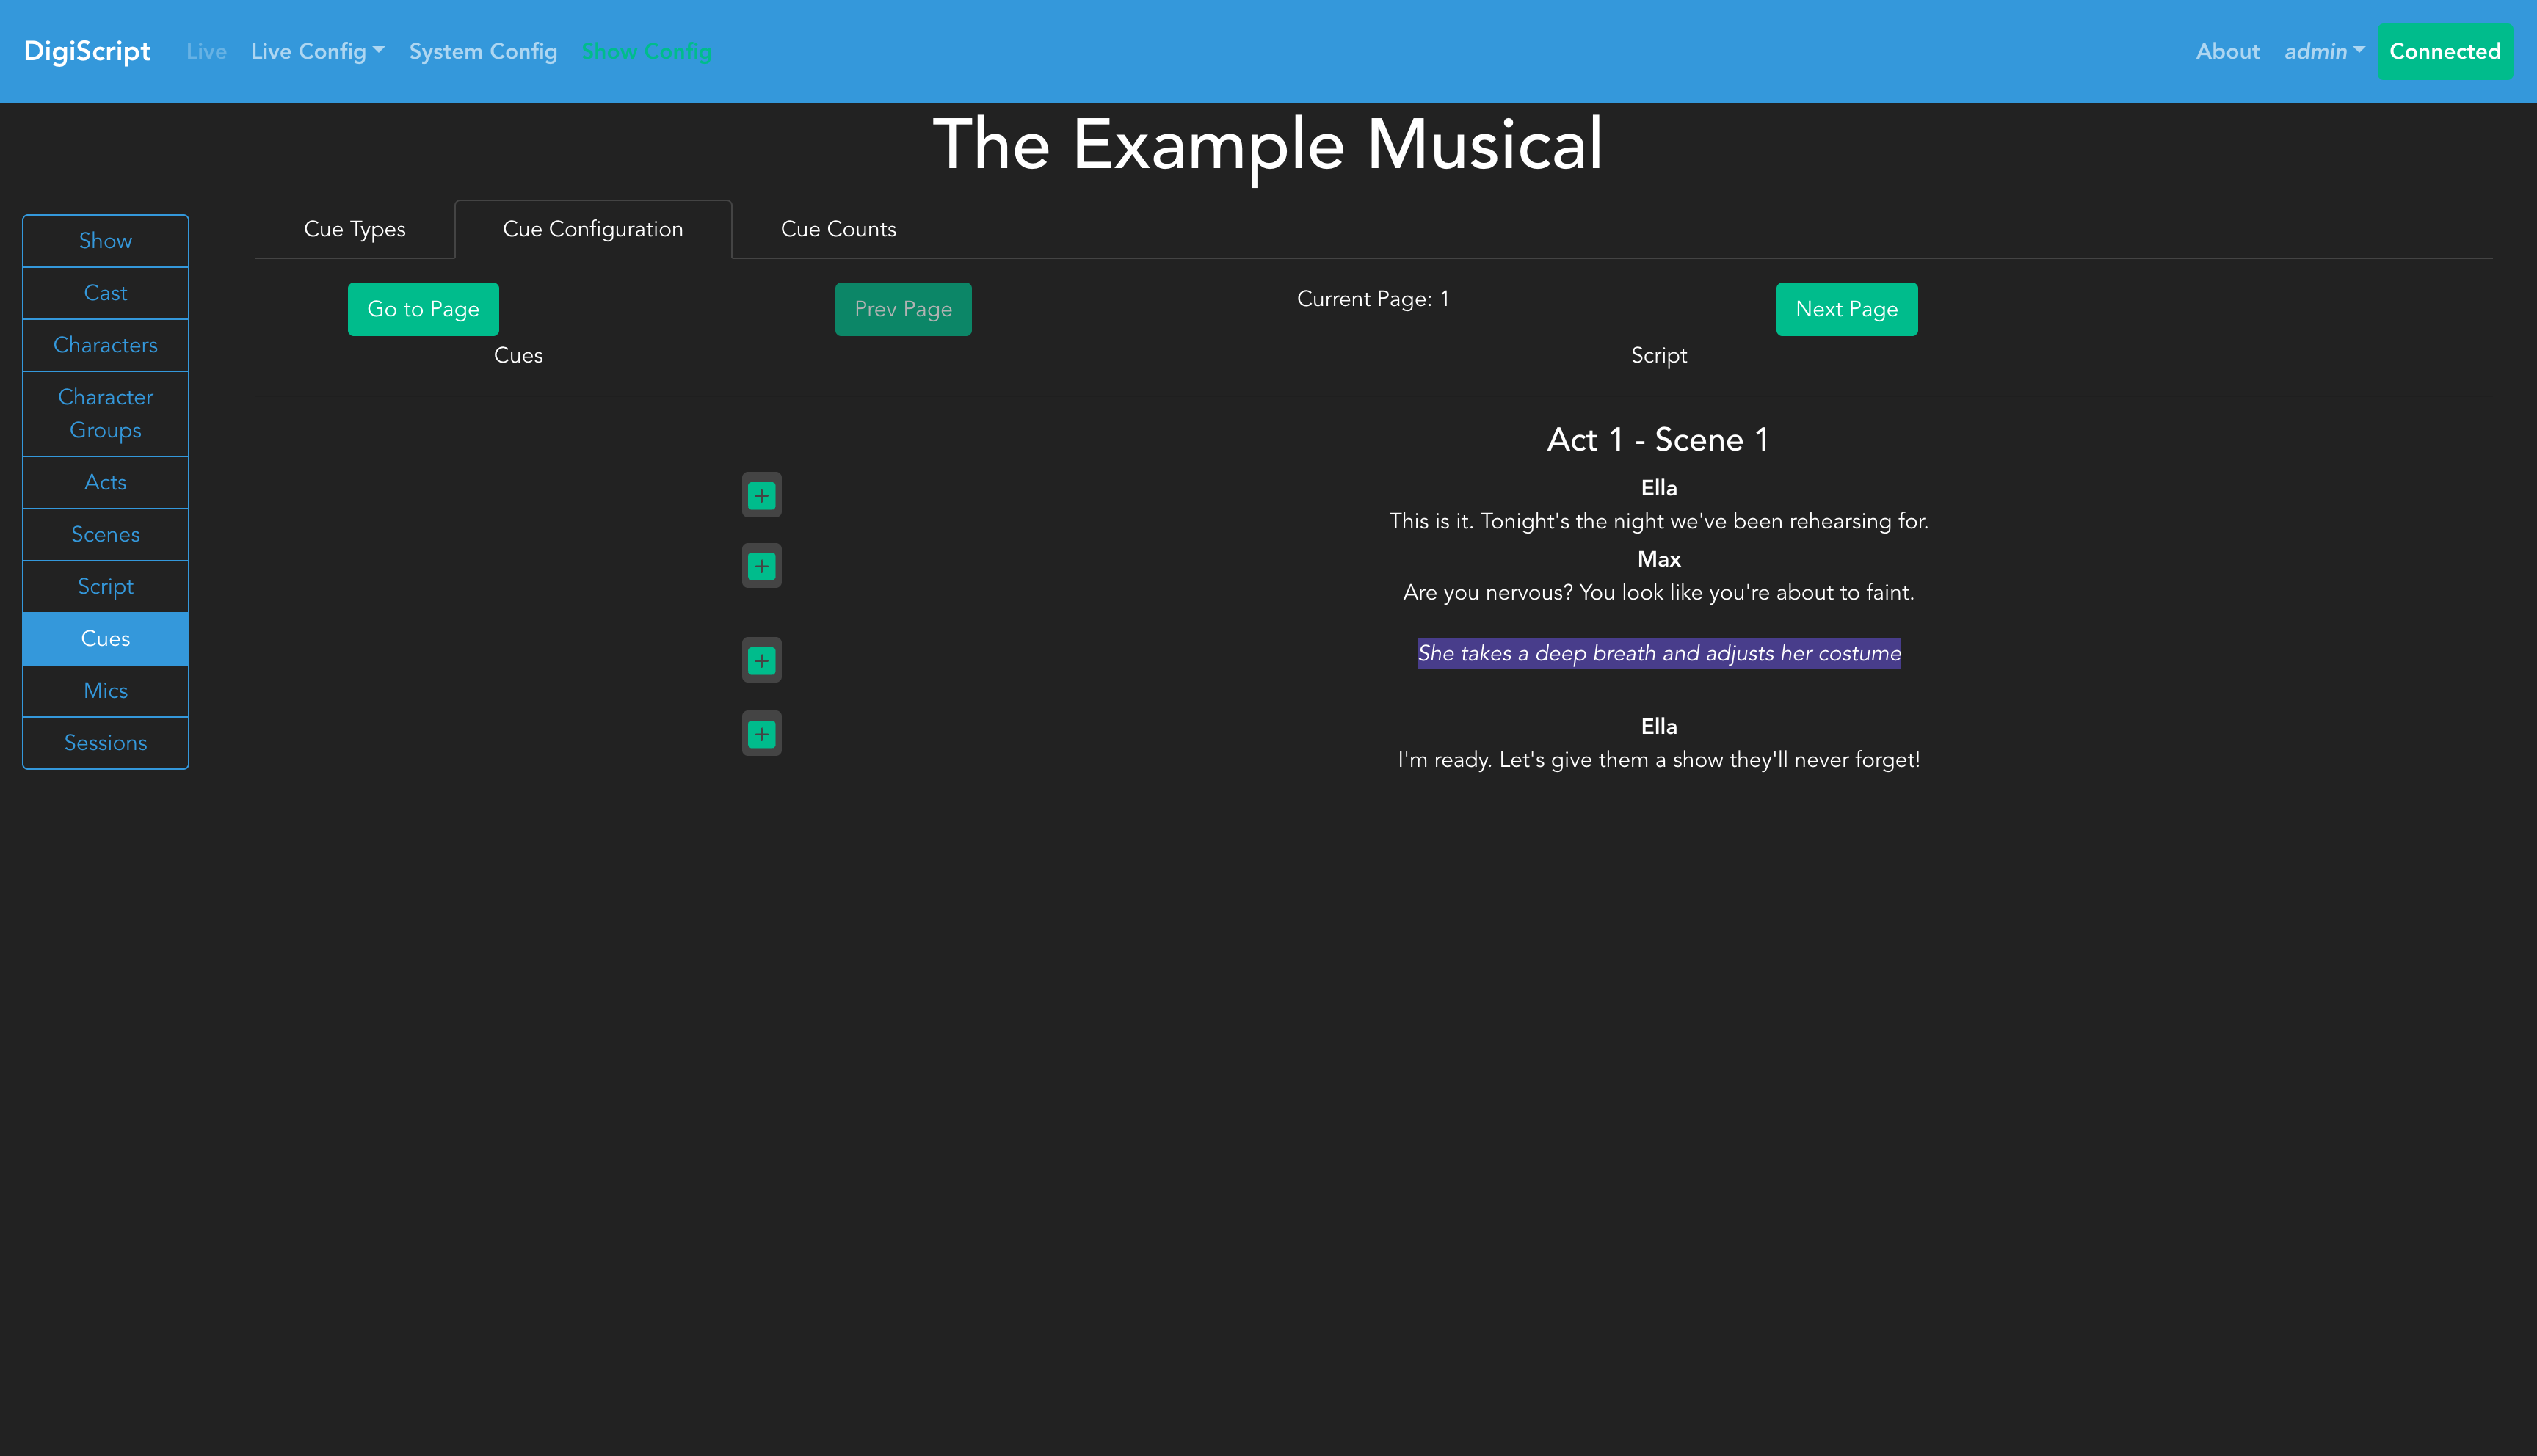
The Cue Configuration tab allows you to add cues to your script. This interface is similar to the script editing page in layout and function. When first accessed, you’ll see your script without any cues:
Configuring Cues
To add cues, click Begin Editing to request exclusive edit access.
Cue Placement on Line Types
Cues can be attached to most line types in your script:
- Dialogue Lines: Standard placement for cues that occur during character speech
- Stage Direction Lines: Useful for cues that occur during action sequences or scene changes
- Cue Lines: Dedicated lines for placing cues without associated dialogue, particularly useful for cues between dialogue
Note: Spacing lines do not support cues, as they are designed purely for visual spacing and are hidden during live shows.
Adding Cues
To add a new cue:
- Click the green + button next to the script line where the cue should occur
- A chooser dialog appears — select Individual Cue to add a single cue, or Cue Group to bundle multiple cues together (see below)
- For an individual cue, select the cue type and provide a cue identifier (e.g., “1” for LX 1), then click Add
After adding cues, they will appear as colored buttons next to their associated script lines:
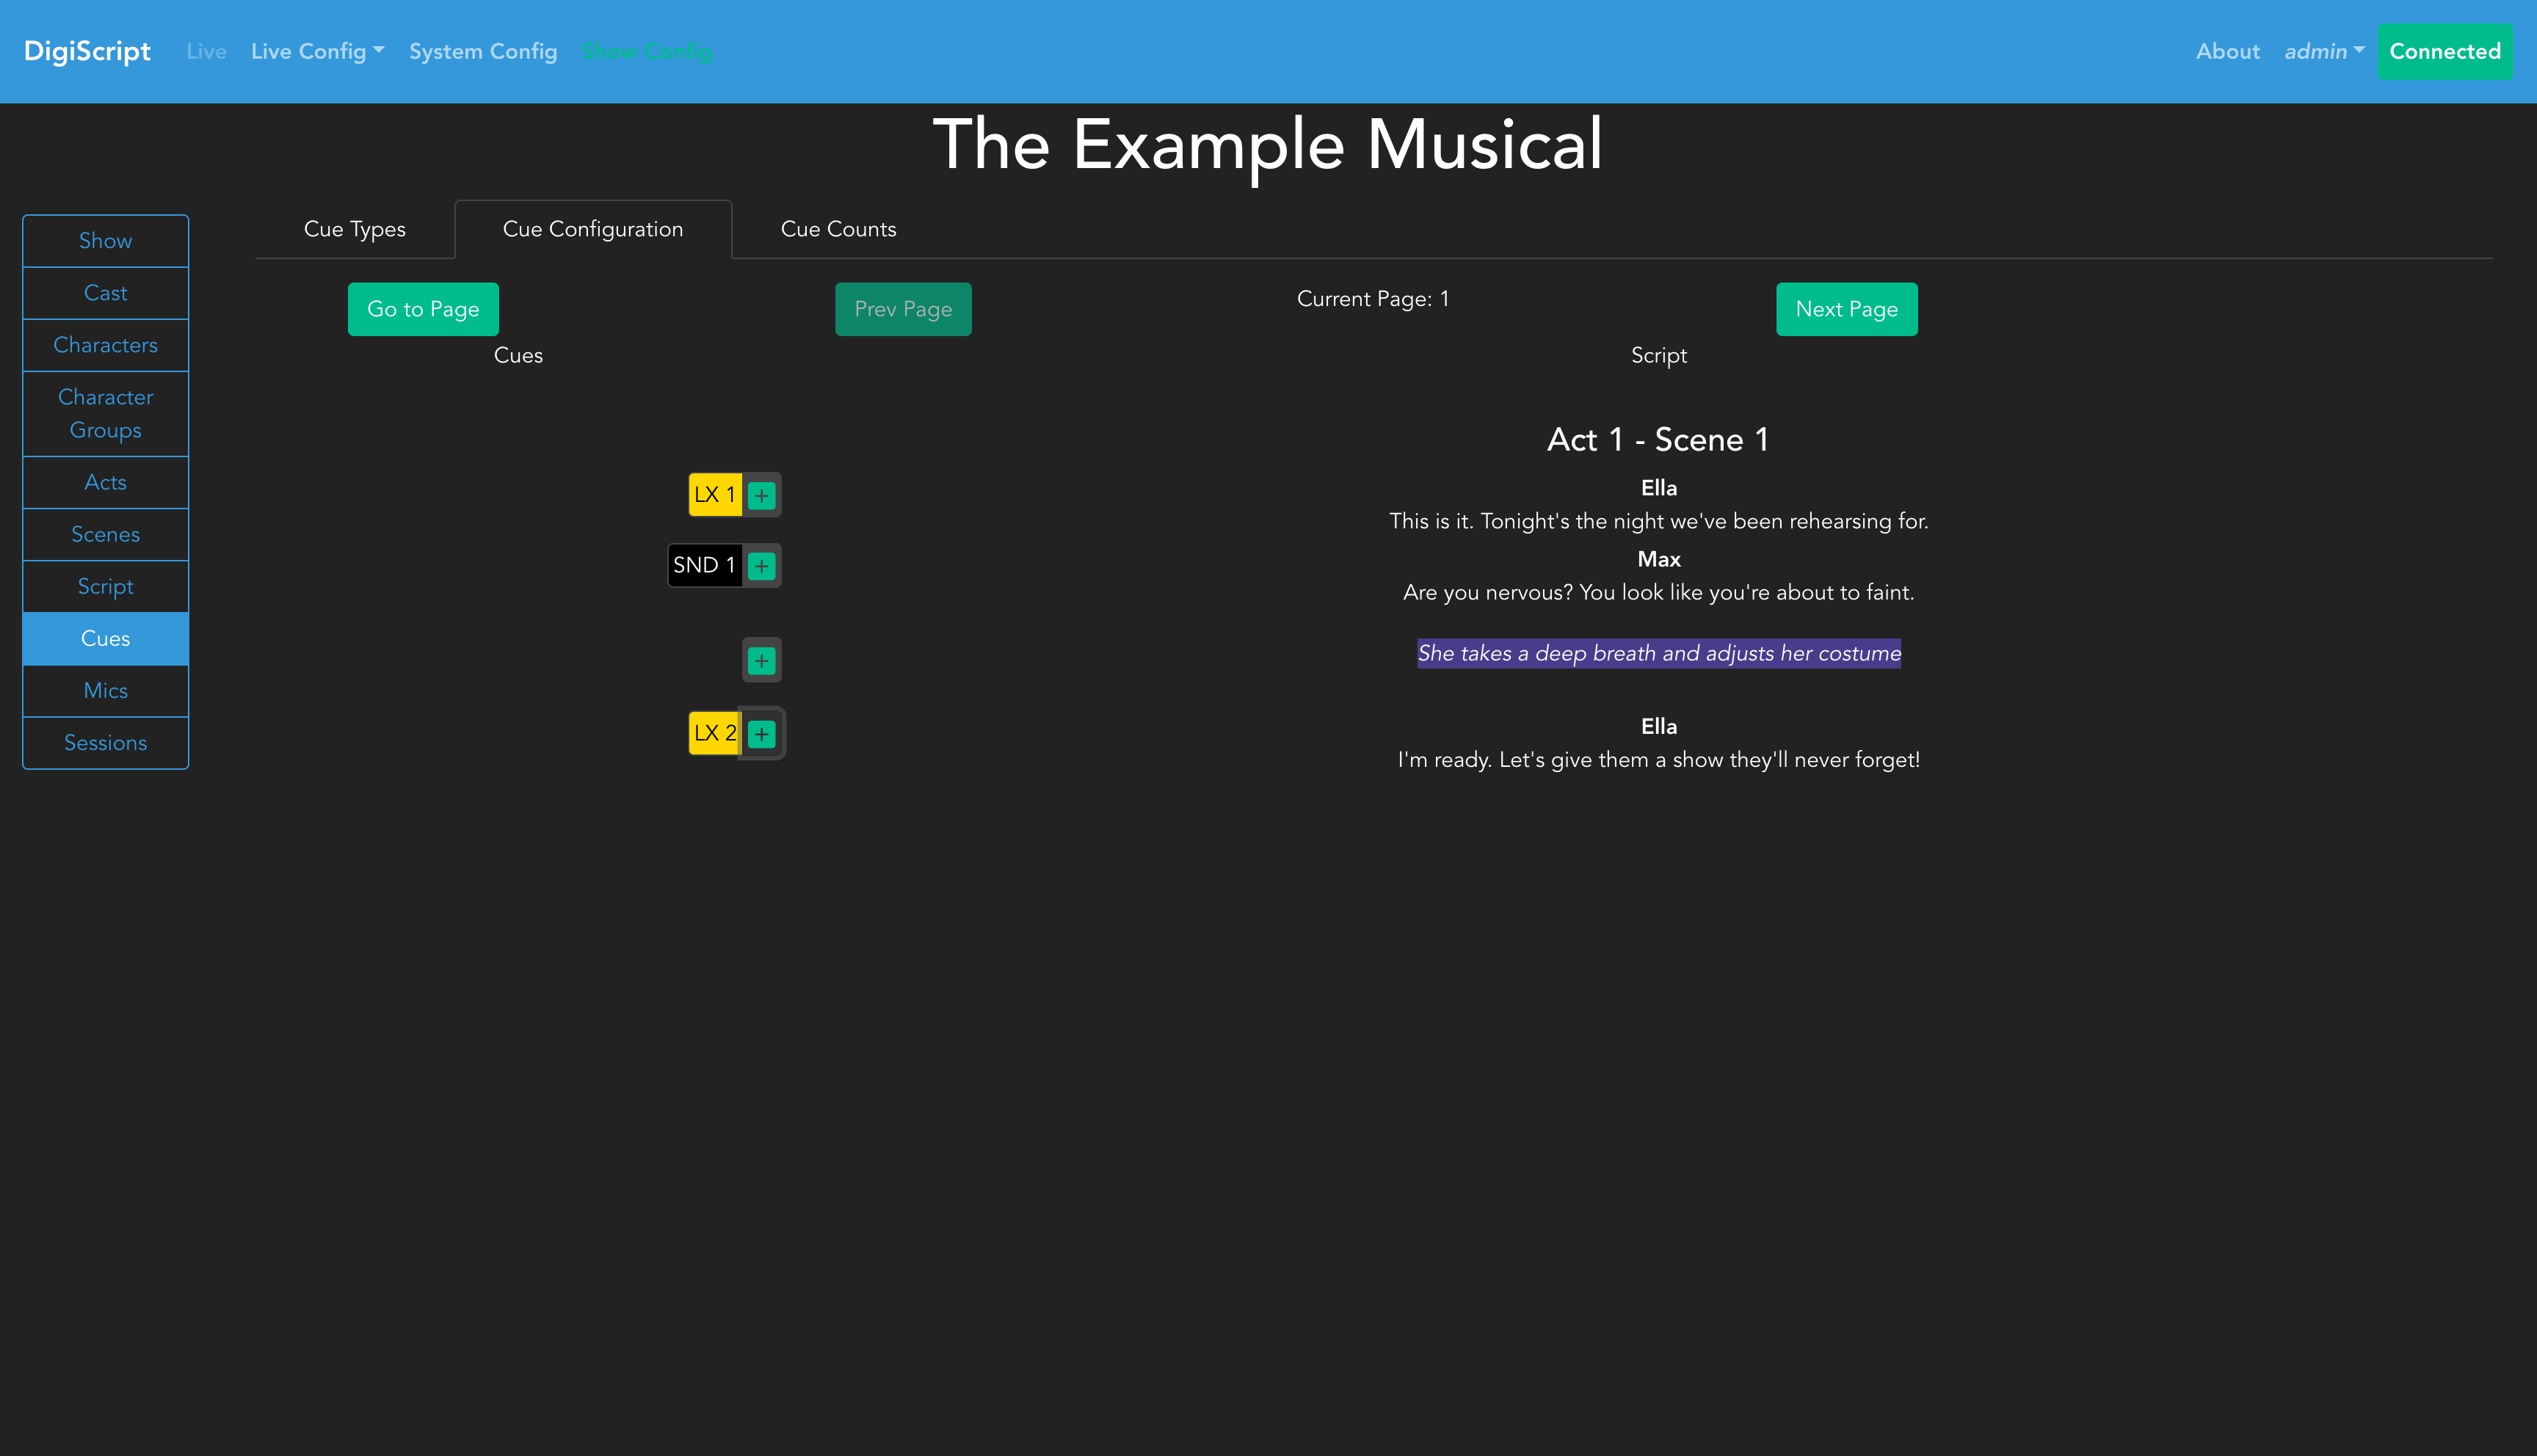
Clicking on a cue button allows you to Edit or Delete that cue. The cue’s color matches the color you defined for its cue type, making it easy to identify different types of cues at a glance.
Cue Groups
When a song or sequence has many cues on the same script line (e.g., 100 LX cues for a timecoded intro), adding them all as individual buttons becomes unworkable. Cue Groups solve this by bundling multiple cues into a single collapsed button displaying an abbreviated label such as LX 1 - LX 100 or LX - Music Intro.
To create a cue group:
- Click the + button on a script line, then select Cue Group
- In the Add Cue Group dialog:
- Select the Cue Type (all cues in a group share one type)
- Optionally enter a Label Override (e.g., “Music Intro”) — if left blank, the label is automatically derived from the first and last cue identifiers
- Add cues using the range input (e.g., type
1 > 100and click Add Range to add 100 cues at once) or click Add Single Cue to add individual rows - Use the ↑ ↓ buttons to reorder cues within the group — the order determines the first/last identifiers shown in the label
- Click Save Group to create the group
The group appears in the cue column as a button with a dashed border, making it visually distinct from individual cues.
Clicking a group button opens the Edit Cue Group dialog, where you can:
- Change the label override
- Add, reorder, or remove individual cues within the group
- Use Delete Group to remove the group and all its cues
A script line can freely mix individual cues and groups simultaneously. The label preview in the dialog updates live as you make changes.
Cues and Script Revisions
Cues are tied to script revisions - when you add or modify cues, the changes only affect the currently loaded revision. This allows you to maintain different cue configurations for different versions of your script.
Once you’ve configured your cues, you’re ready to run a Live Show.