Configuring a Show
Heading over to the Show Config navigation option at the top of the page will bring you to an overview of the current show. The navigation sidebar on the left provides access to all the configuration sections for your show.
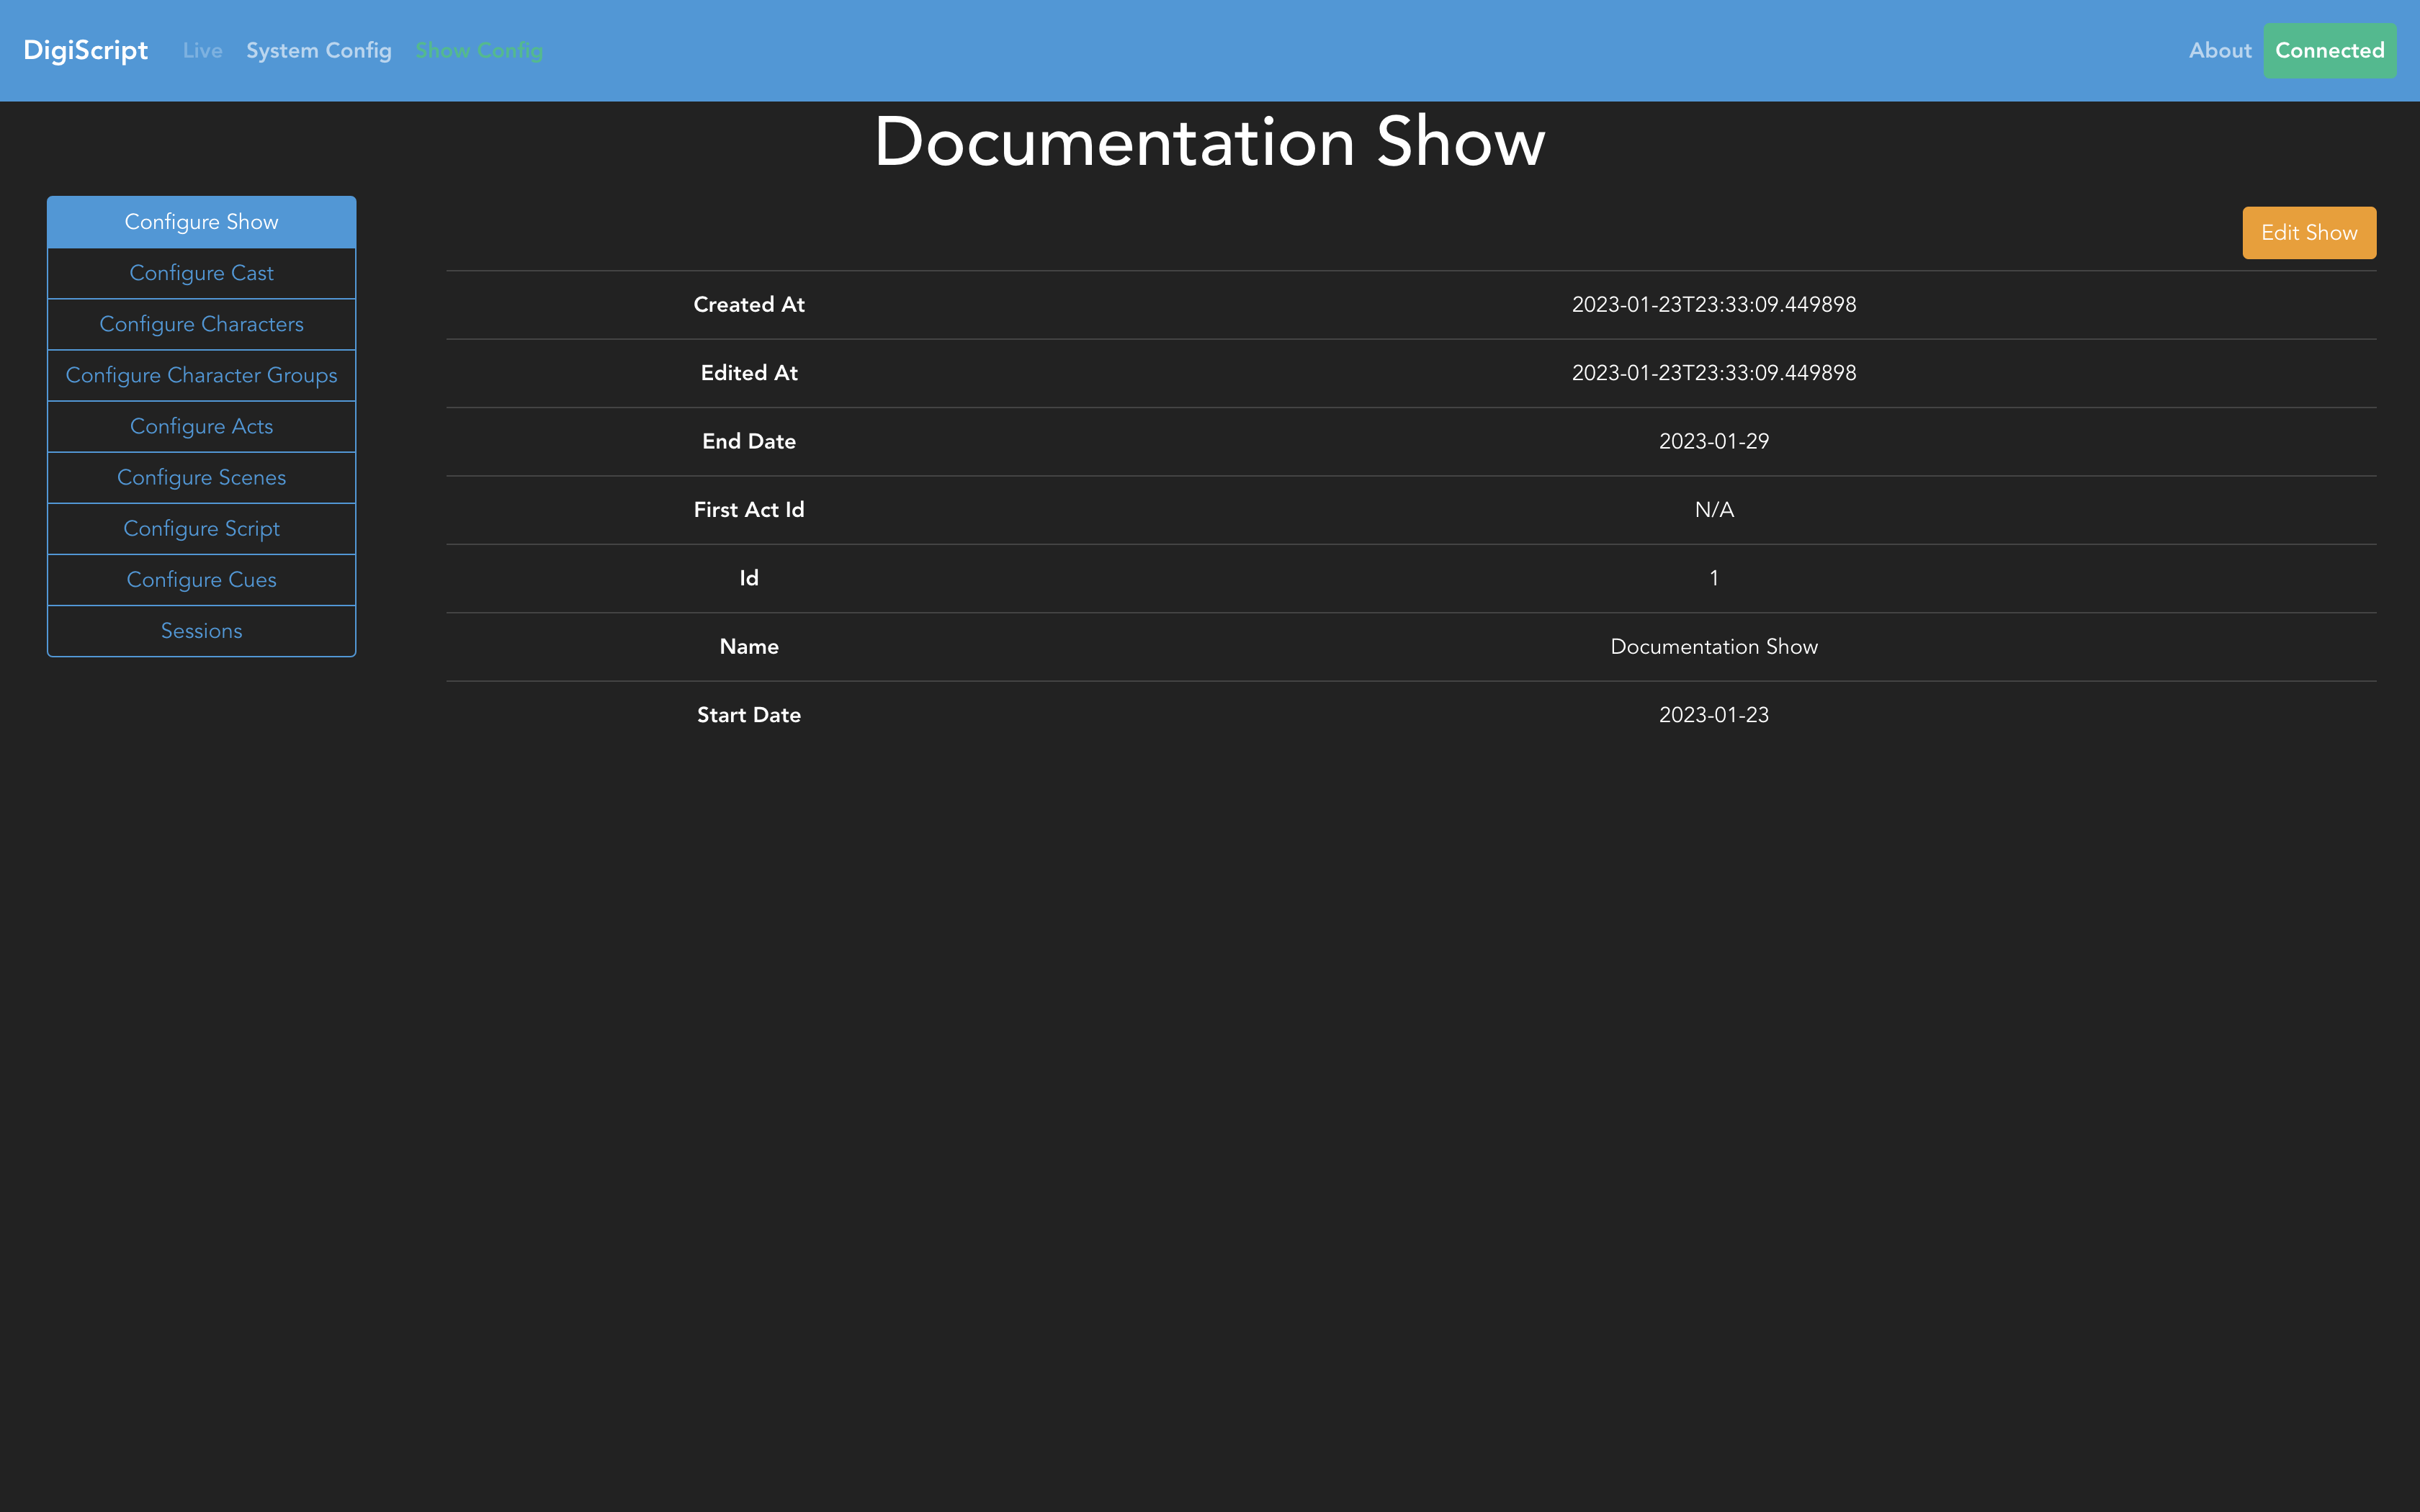
Configuration Sections
The Show Config page is organized into several sections, each accessible from the left sidebar:
- Show: View and edit basic show information (name, dates, settings)
- Staging: Manage crew, props, and scenery for your production
- Cast, Characters and Character Groups: Manage performers and roles
- Acts and Scenes: Structure your show’s timeline
- Script: Create and edit the show script with revisions
- Cues: Configure cue types and assign cues to script lines (see Cue Configuration)
- Microphones: Set up microphones and allocate them to characters
- Sessions: View the history of live show sessions and manage session tag types
Configuration Workflow
The recommended workflow for configuring a new show is:
- Add Cast and Characters
- Create Acts and Scenes
- (Optional) Select Script Mode for your show
- Set the First Act (vital for script ordering - usually handled automatically)
- Move on to Script Configuration
- Configure Cues
- Optionally set up Microphones
- Optionally configure Stage Management (crew, props, scenery)
Script Display Modes
DigiScript supports two script display modes that affect how your script appears during editing and live performances. This setting is chosen when creating a new show in the Advanced Options section.
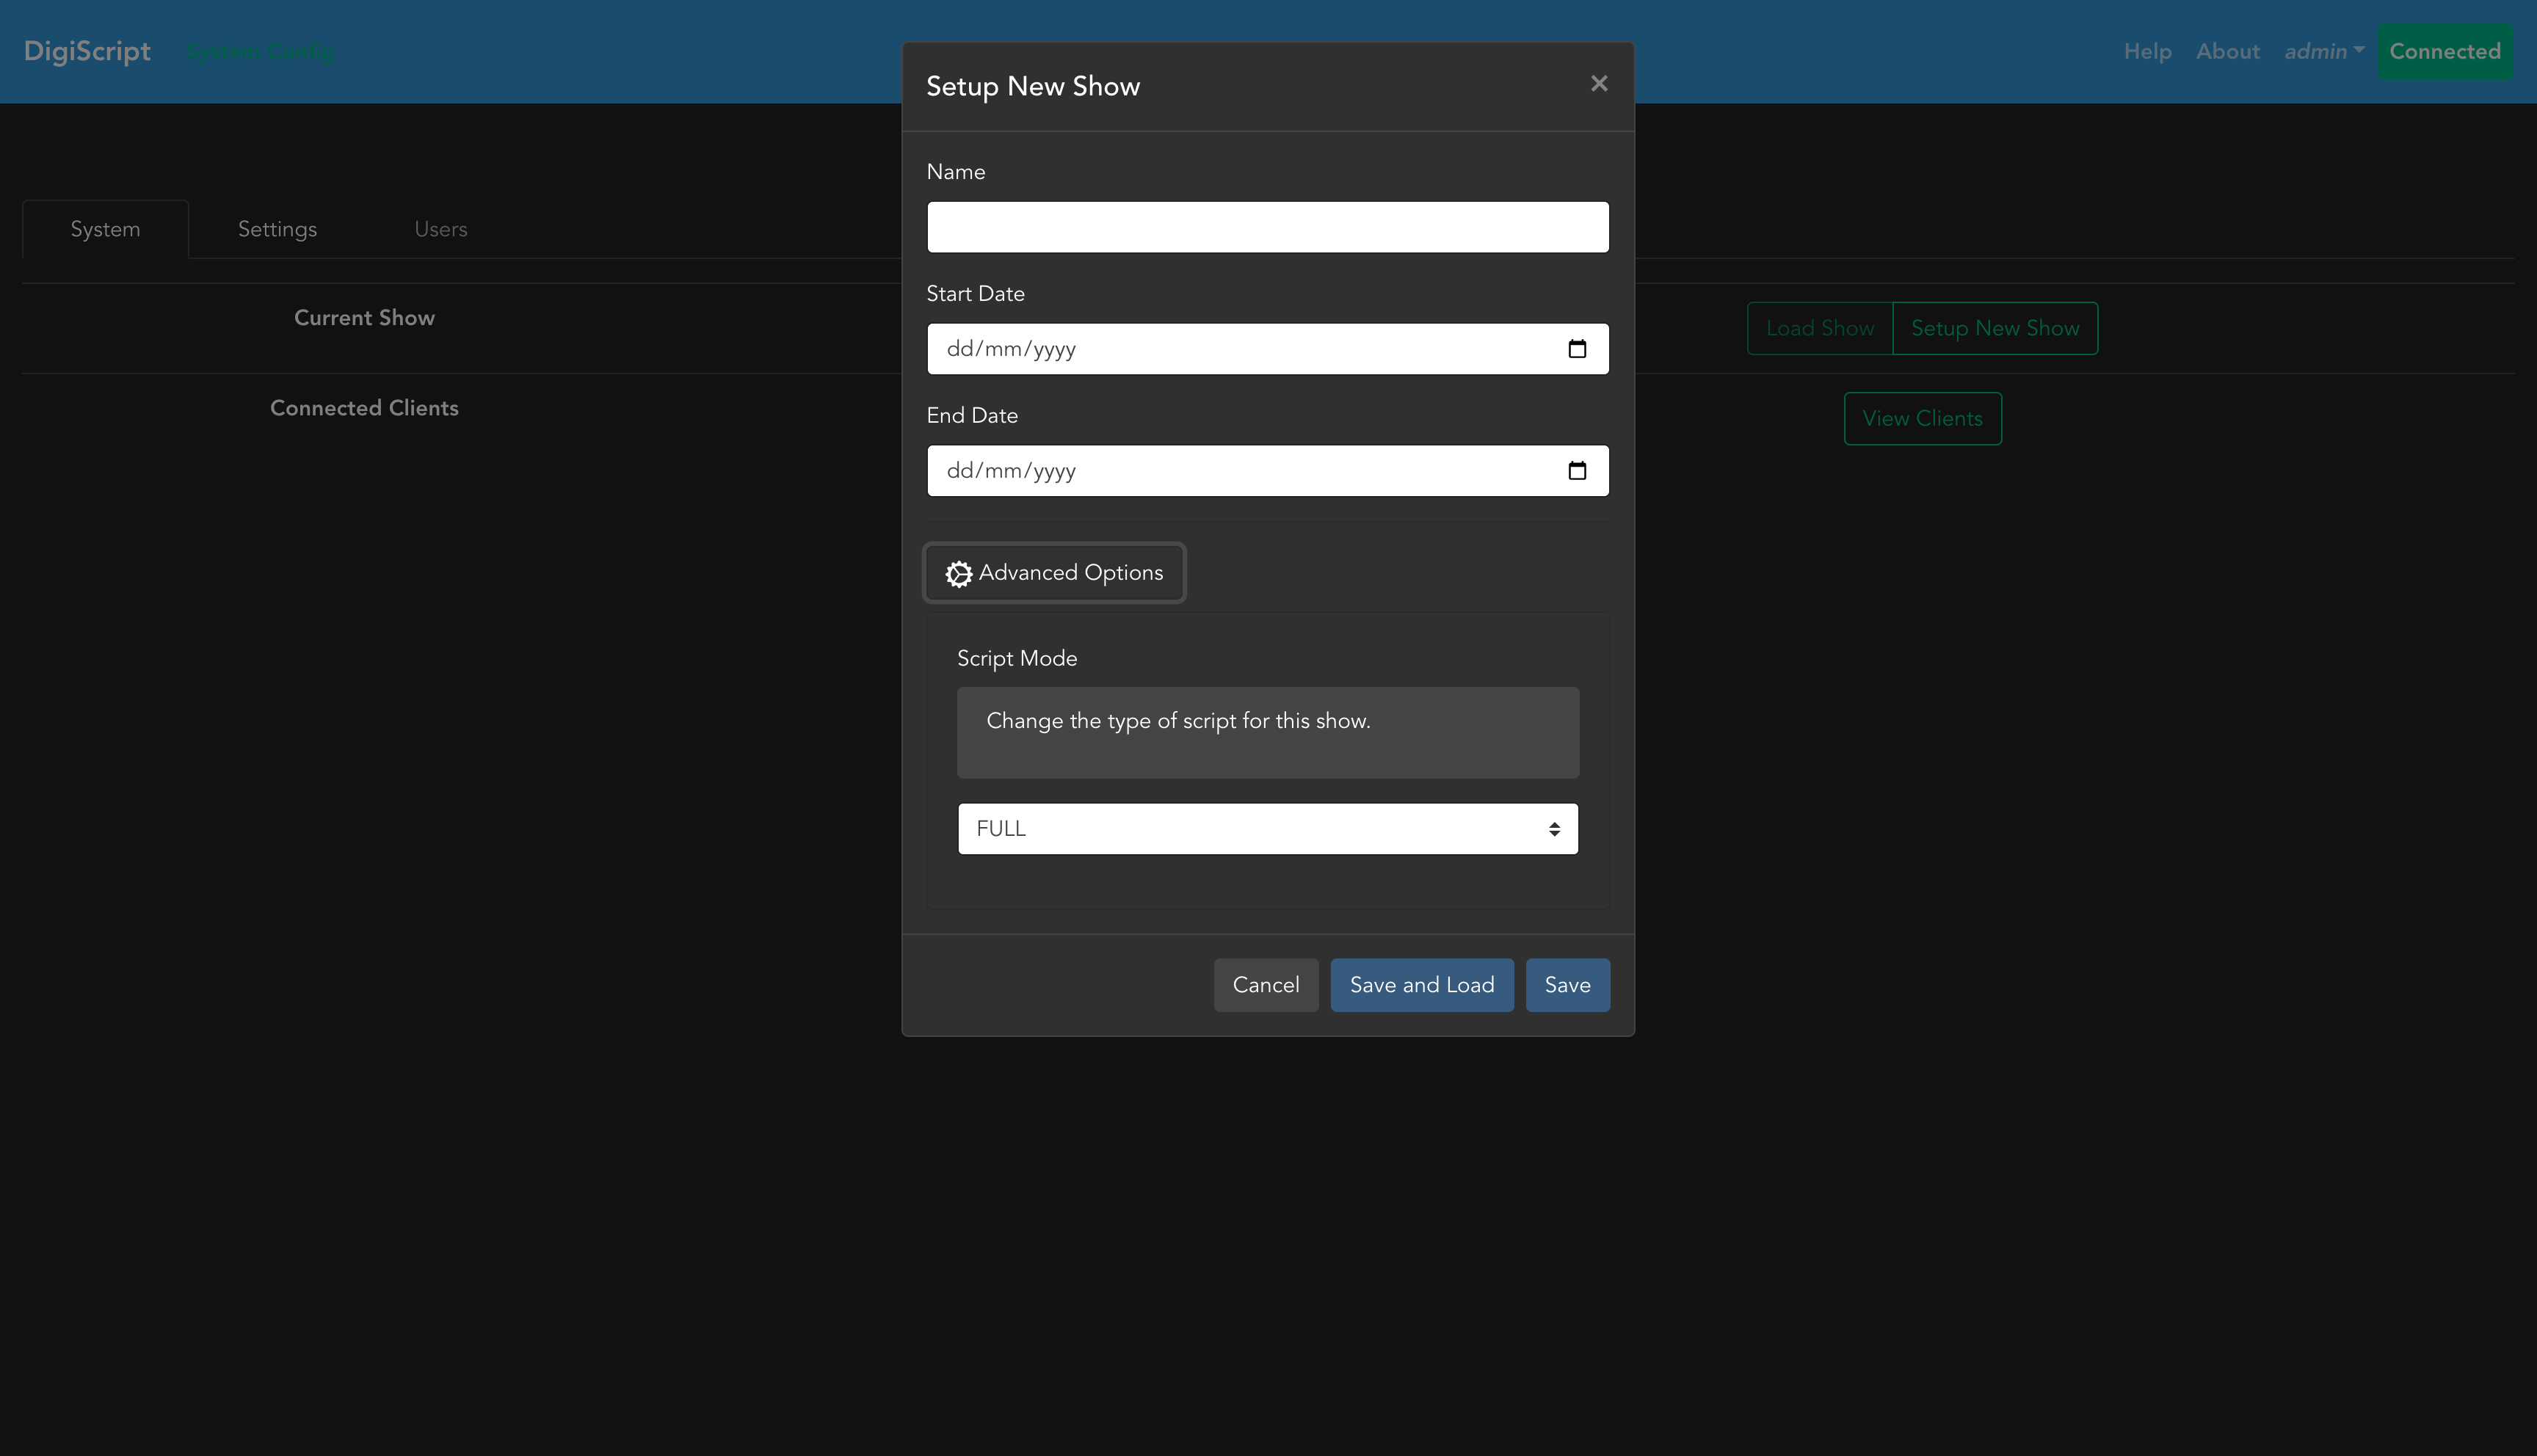
FULL Mode (Default)
The traditional multi-column layout. This mode is ideal for:
- Shows with frequent multi-part dialogue (up to 4 simultaneous speakers)
COMPACT Mode
A streamlined single-column layout. This mode is ideal for:
- Simple dialogue-heavy shows
Note: The script mode is set during show creation and affects the entire show. It cannot be changed after the fact.
Sessions
The Sessions section shows a history of all live show sessions that have been run. The Tags tab lets you create and manage session tag types — coloured labels that can be applied to individual sessions to categorise them (e.g. “Tech”, “Dress”, “Opening Night”).
Session Tags
Each tag has a name and a colour. Tag names must be unique within a show (case-insensitive). Tags can be applied to sessions from the Sessions tab.
Importing Session Tags from Another Show
If you have already configured session tags for a different show, you can import them into the current show using the Import Tag button on the Tags tab. This opens a panel listing all session tags from your other shows, grouped by show name. Click Import next to any tag to add an independent copy to the current show. Tags that already exist in the current show (matched case-insensitively) are shown as disabled and cannot be imported again.
Once your show is fully configured, you’re ready to run a live show!